Getting Started with an Arduino Uno on a Mac

Enjoyed the post about my Arduino based digital thermometer? Today I’m going back to the basics. I’ll outline from start to finish how to get your first sketch up and running on an Arduino Uno using a Mac.
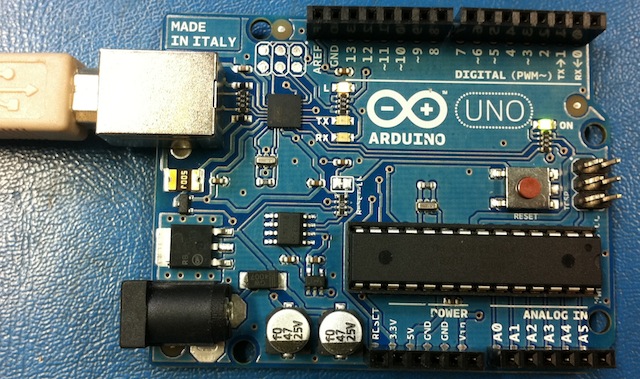
This post assumes you’ve already ordered an Arduino Uno and you have it sitting in front of you. You’ll also need a USB cable (same ones used for printers) and that’s it. Nothing else is required to be purchased.
If you haven’t already, go and download the software, it’s free. Make sure you get the latest version (0022 as of this writing) that is compatible with Mac OS X. Once you got the software installed, fire it up and plug in your Arduino Uno into an open USB port.
Next we will check a few things. There are multiple versions of Arduino, so we want to make sure we select the right one for us. The Arduino will show up as a modem on a Mac (no drivers required), so we will also want to make sure the right one is picked from the list for this as well. If you head up to the Tools option in the menu bar you will find the Board and Serial Port drop down list. Pick the the Arduino Uno board (should be first one the list) and pick the modem that closely resembles what you see in the photo below. It should start off as tty.usbmodem with some letters and numbers following that. It will probably be different for you, so don’t sweat it if it doesn’t match the picture.


Ok, we’re almost there! The Arduino software comes with a bunch of prebuilt sketches that you can load into it. For this example we will use the Blink sketch located in the Basics drop down list. So go to the menu bar. File > Examples > Basics > Blink.
That should open up the blink example. And it should look something like this.
/*
Blink
Turns on an LED on for one second, then off for one second, repeatedly.</code>This example code is in the public domain.
*/void setup() {
// initialize the digital pin as an output.
// Pin 13 has an LED connected on most Arduino boards:
pinMode(13, OUTPUT);
}void loop() {
digitalWrite(13, HIGH); // set the LED on
delay(1000); // wait for a second
digitalWrite(13, LOW); // set the LED off
delay(1000); // wait for a second
}
Now upload that code into your Arduino and watch the LED on the board start blinking! All Arduino boards come with an LED that is attached to digital output 13. That is what this sketch will blink.
Simple as pie. With a little electronic knowledge, some creative ideas, and a bit of code writing, anything is possible.
Look for future posts as I expand on my Arduino tutorials and move on to more complicated, yet fun, projects.
Leave a Reply