Pong LED Clock

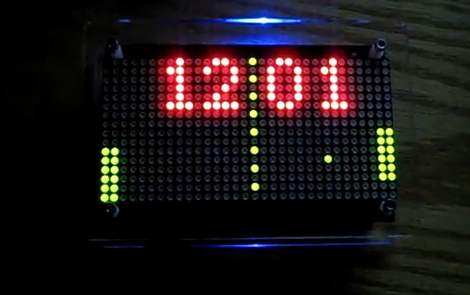
This is a pretty neat gadget. Shows time by playing pong! It’s pretty cool how the scoring is actually the time that is being displayed. For example, when it changes is when you’ll see one of the sides score a point.

I may have to pick up the kit for this so I can build it. It uses the Arduino platform which is a big plus as that’s what I’ve been messing with ever since I got mine for Christmas. I’m always looking for new things that I can do with it.

Here’s a video of it in action.


Source: http://hackaday.com/2011/02/09/pong-clocks-using-led-matrix-modules/

Remote Heated Seat Module Installed

Since I was off today from work, I got busy in the garage installing my home built Remote Heated Seat Module in my 2008 Pontiac G8. Very clean install. No wires or holes cut. Nothing showing. Module is sitting in my glove box. I was able to fish the necessary wires through some preexisting holes. Al the wiring was installed with t-connectors so that factory operation of the heated seats was not affected in any way.

Works like a charm! Here is a video of it in action.

Remote Heated Seat Module

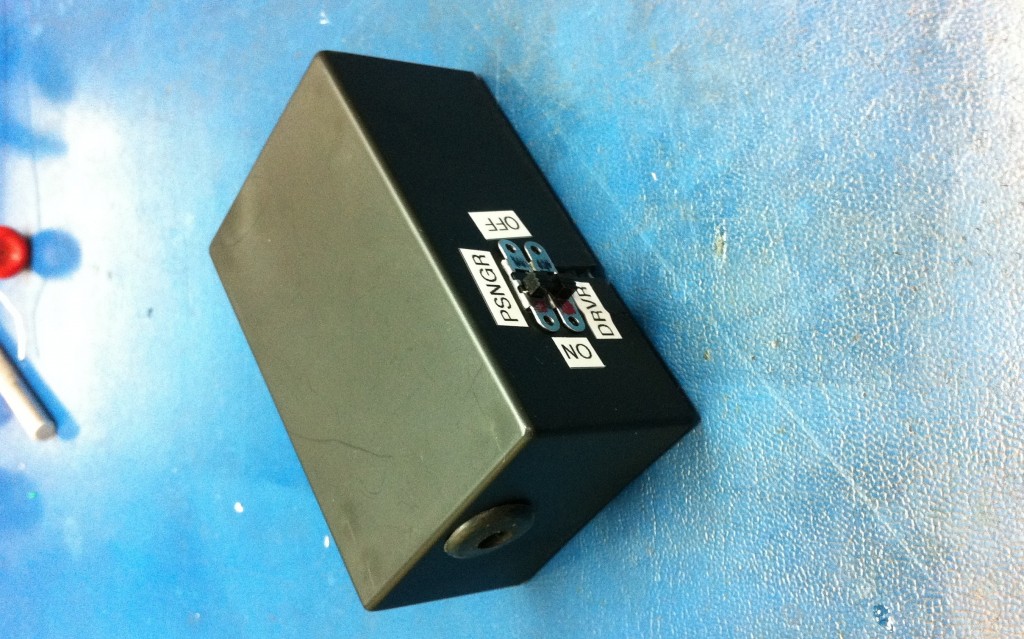
Inspired by a thread I saw on g8board.com I built my very own remote heated seat module. It’s actually a pretty simple circuit. It simulates the pressing of the heated seat buttons automatically when I remote start my car (G8 GT).

During remote start, the heated seats can turn on by pressing the button. So what I do is tap off the 12V power on the one side of the heated seat pushbutton to power the circuit and use a relay to send that same 12V to the other side of the pushbutton. Since accessory voltage doesn’t exist when the car is remote started, I will use that as well so that the relay only turns on when the car is remote started instead of a normal key start.

When the circuit is powered up it will wait 8 seconds (to allow car to fully start and voltages to stabilize). The accessory voltage is read by a Picaxe-08M micro-controller. If it is not there, the micro-controller will pulse the relay to simulate a button push. If the accessory power is there, that mean the car was started by the key and the micro-controller will do nothing.

Two physical switches are used to disable part or all of the circuit. One will disable the passenger heated seat and the other disables the entire circuit. Can’t wait to install this in my car! It’ll be nice to warm up the seats at the same time as warming up the car.

AutoBlender Tree Protector

My AutoBlender Cat Repeller works so well on the counter top it only makes sense to use it to keep the cats out of the Christmas tree.

Yesterday I took it off the counter top and placed it under the tree.  Didn’t take very long before that cats decided to press their luck and headed to play with the tree.  Needless to say, they didn’t stick around that long once the blender went off!

This project worked so well to train the cats to not go places they are not allowed that I am tempted to build a single standalone box that can play back a loud noise (like the blender noise) to see if it works as effective as the real thing. That way I can build more than one and go back to using my blender for its original purpose, to blend food.

On the left you see the blender in the background and the black box in front of the blender which houses the circuit board and all associated electronics (relay, picaxe-08m, various resistors, capacitors, etc). The opaque dome you see is the motion sensor, endlessly watching over the surrounding area.

AutoBlender Cat Repeller

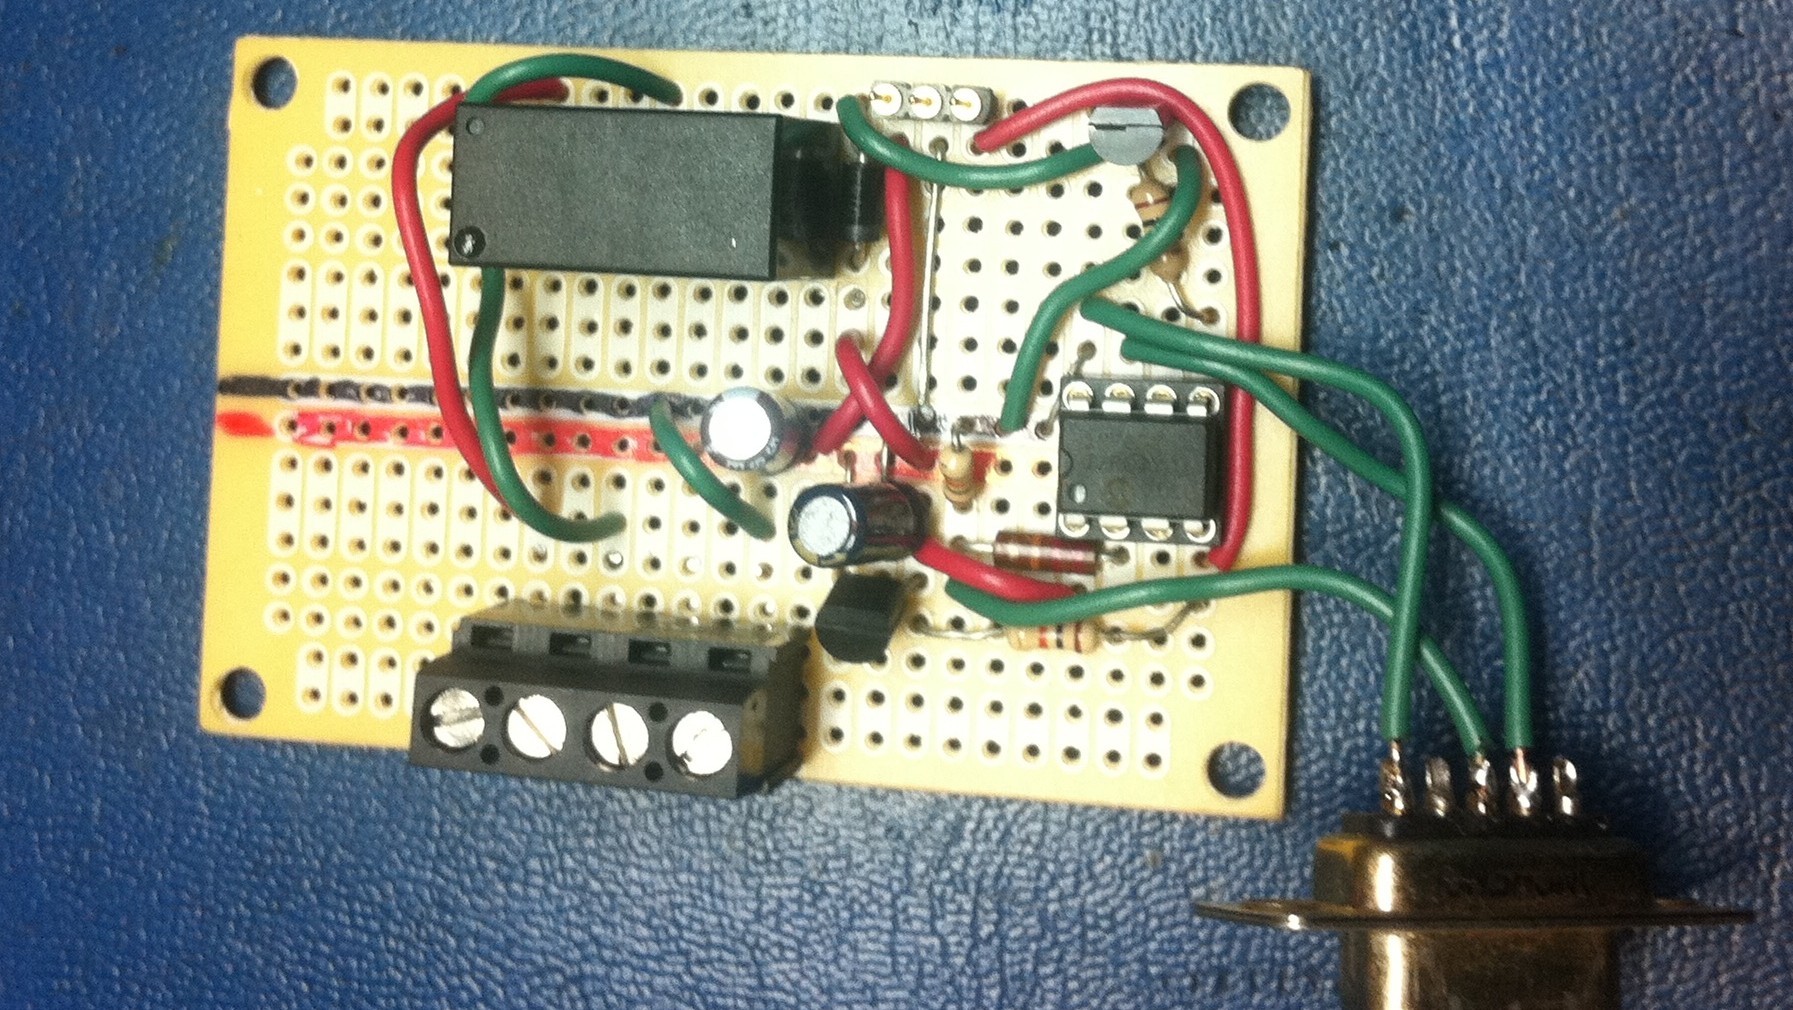
My project is moving along nicely.  Got a picture of the finished board and a video showing a test run.

There’s a terminal strip on the bottom to wire in the power supply and the wires that head off to the blender. The relay is directly across from it on the top. That’s what simulates a button press. The chip on the right is the PICAXE-08M micro-controller. Plus a few other parts to make it all happen. The part you see there hanging out is a serial port that I use to program the chip with. Whats not pictured is the motion sensor. Just to the right of the relay you can see a 3 pins on a small strip. That’s where I plug it into the board.

Tonight I plugged it all in and gave it a test run. Worked like a charm! I enticed the cat in the video below with a light so I could catch it in action.  While typing up this post both my cats decided to try their luck on the counter only to promptly evacuate the area the instant the blender came on. Works just as I’d hoped. All that’s left now is to slightly modify the program (blender is on a tad too long) and to get it installed into a plastic project box.

Please be sure to turn up your speakers to hear it.

UPDATE: This works just as well to keep the cats from getting under or in the christmas tree!